LED stadium lighting has revolutionized sports facilities with its outstanding energy efficiency, long service life, and exceptional brightness. If you're responsible for outfitting a stadium, switching to LED not only cuts running costs but also enhances the spectator’s experience. However, achieving those benefits requires more than just choosing good lights, proper installation and planning are critical.
This guide walks you through the entire process, from pre-installation planning to final commissioning, ensuring your project runs smoothly.
Part 1. Pre-Installation Planning & Design
Before a single fixture goes up, you need a solid plan. Skipping this step usually leads to uneven lighting, energy waste, or even compliance issues.
1. Lighting Requirements & Standards
Start by understanding which standards your facility must meet. Governing bodies like FIFA, NCAA, or IAAF have specific lux level, uniformity, and glare control requirements.
- Soccer (FIFA): 500–2000 lux (depending on competition level).
- Tennis (ITF): 300–750 lux.
- Athletics (IAAF): 250–1500 lux.
Ensure your design meets these benchmarks to avoid costly retrofits later.
2. Site Assessment
Next, assess the physical and electrical conditions of the venue. How high are the poles? Can they bear the weight of modern LED fixtures? What's the state of your current wiring and surge protection systems?
- Structural Analysis: Check pole height, mounting positions, and load-bearing capacity.
- Electrical Infrastructure: Verify voltage compatibility, cable routing, and power supply capacity. Older stadiums may need upgrades to support high-efficiency LED systems.
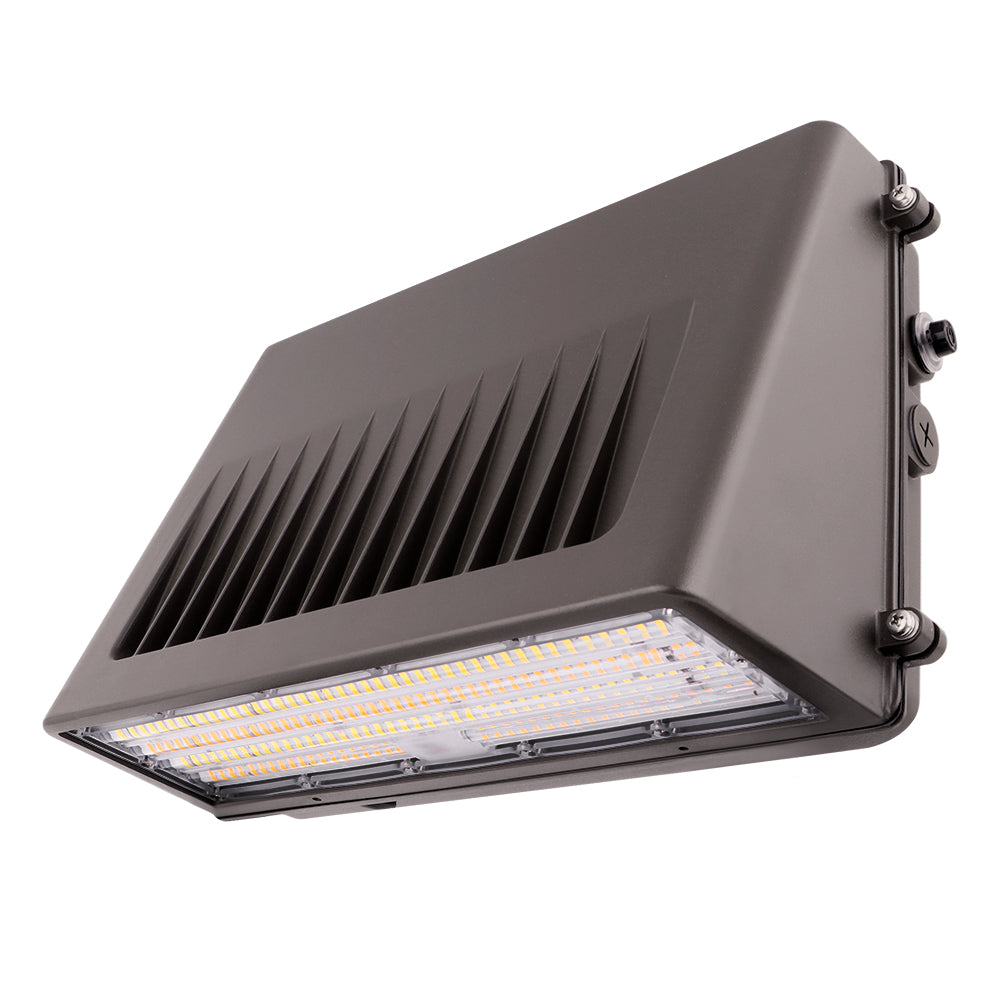
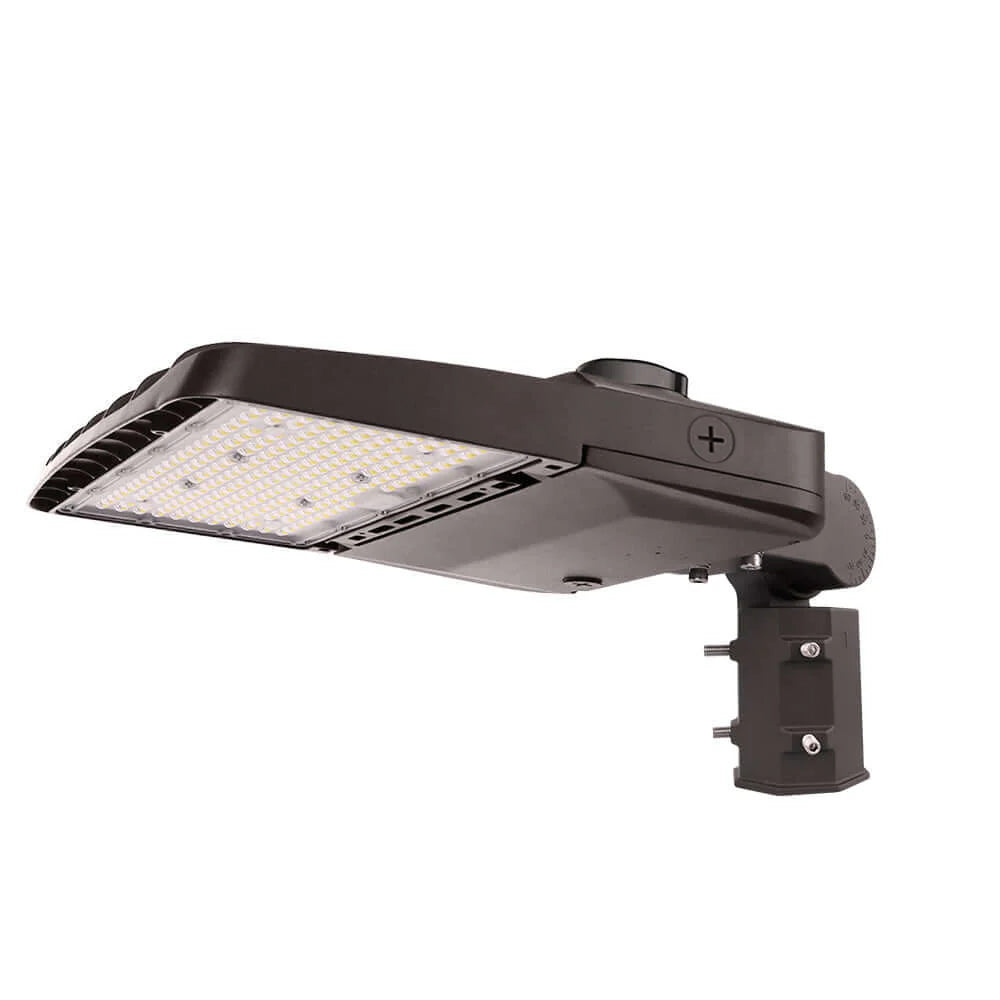
3. Choosing the Right LED Stadium Lights
This is where your project comes alive. Choose lights with appropriate wattage and beam angle for your venue size.
- Wattage & Beam Angle: Higher wattage (500W–1500W) for larger fields, with narrow (15°–30°) or wide (60°–120°) beam angles for optimal coverage.
- Color Temperature (CCT): 4000K–5700K for natural daylight-like visibility.
- Smart Features: Remote-controlled dimming, scheduling, and dynamic lighting modes enhance flexibility.
Part 2. Installation Process Step-by-Step
Now that you've selected the right lights and prepared the site, let's walk through the installation process. Precision matters at this stage, it's where your planning turns into results.
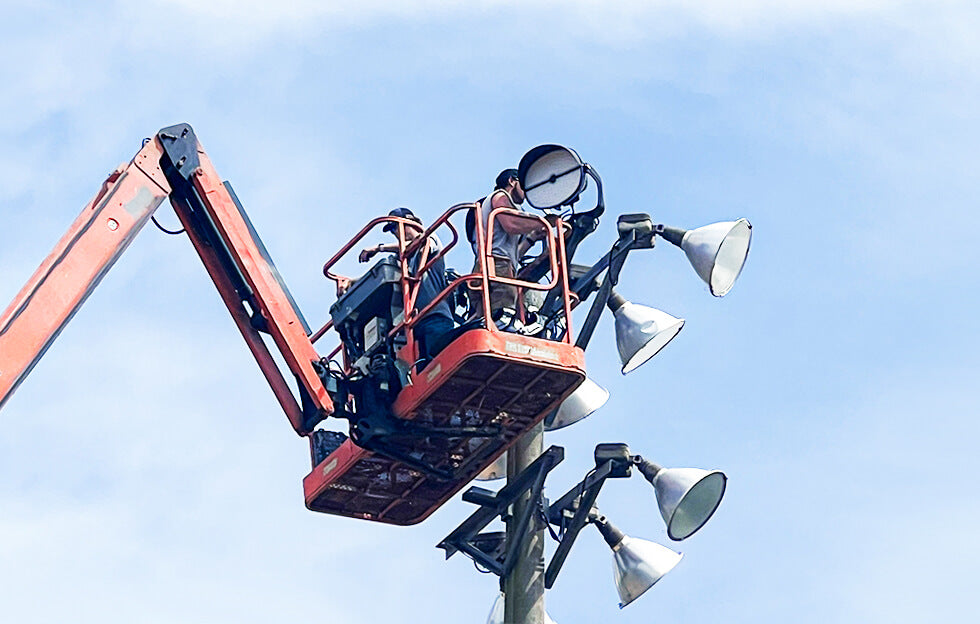
1. Mounting & Electrical Setup
If your venue already has poles or mounting structures, you'll need to verify they can accommodate your new fixtures. In some cases, pole reinforcement or adjustment may be required. Ensure poles are securely anchored, with proper height (typically 15m–50m) for uniform light spread.
Once mounting is sorted, attention shifts to electrical setup. Make sure all the wiring is properly rated, and don't skip grounding, this is essential for safety. Surge protection devices should be installed at every distribution point, especially in open-air stadiums.
2. Fixture Installation
Every fixture must be aligned according to your photometric plan. This isn't just pointing lights at random; you want maximum coverage with minimal overlap or shadow.
Make sure each light is weatherproofed (IP65 or higher is recommended). Also, pay attention to thermal management, overheating shortens lifespan. Good-quality fixtures come with built-in heat sinks and airflow design.
3. Network & Control System Setup
Smart stadium lighting really shows its value here. You'll need to decide between wired and wireless control systems. Both have pros and cons: wired systems are more stable, but wireless options are easier to scale.
If your facility already uses a Building Management System (BMS), check whether your lights can integrate seamlessly. This enables remote monitoring, automatic scheduling, and even real-time performance analytics. For large venues, remote control stadium lighting can drastically cut down on manual labor.
Part 3. Remote Operation & Smart Control Systems
Modern LED stadium lighting isn't just about brightness—it's about control. With smart systems, you can adjust lighting remotely, schedule operations, and even create dynamic effects for events. Here's how it works and what you need to consider.
1. How Remote Control Works: With a smart stadium lighting system, you can switch lights on or off, dim them based on the time of day, and schedule them to align with event calendars, all without needing to be physically present at the site.
Some systems even let you program dynamic lighting effects, which is a bonus for entertainment venues or professional matches. This level of control helps you reduce energy waste and simplify daily operations.
2. Connectivity Options
- Bluetooth Control: Bluetooth is the most straightforward option and suitable for smaller setups. You'll pair lights directly to your phone or tablet. However, range is limited (usually up to 10–20 meters), so it's not practical for large stadiums..
- WiFi-Based Systems: WiFi offers more flexibility. Modern systems support secure protocols like WPA2, WPA3, or even WPA2-Enterprise for larger organizations. When choosing a system, make sure it's compatible with high-density WiFi standards such as 802.11ac or 802.11ax (WiFi 6), these are ideal for venues with hundreds of connections.
- Wired TCP/IP Network Control: For ultimate reliability, a wired Ethernet setup is hard to beat. It avoids interference issues and ensures stable operation during large events. These systems typically communicate over HTTP (port 80), HTTPS (port 443), or MQTT (commonly ports 1883 and 8883) for real-time control. If you're running a critical venue, wired systems should be your default choice.
3. Cloud-Based & Centralized Management: For multi-site control (e.g., sports complexes), IoT platforms let you manage all lights from one dashboard. These platforms allow centralized control, diagnostics, and updates. But remember that security is non-negotiable. You should use encryption (such as TLS) for data protection and consider VLAN segregation to isolate lighting systems from public or guest networks.
Part 4. Testing & Commissioning, and Maintenance
Before the final handover, thorough testing ensures everything works flawlessly:
- Initial Power-Up & System Check: Start by confirming that all electrical connections are secure and safe. Each fixture should power on correctly and respond to basic commands (on/off, dim).
- Lighting Performance Validation: Use a lux meter to measure brightness levels across the pitch. Make sure light distribution is even and meets the required uniformity ratio for your sport or event type.
- Remote System Testing: Now test your control system whether it's Bluetooth, WiFi, or Ethernet. You need to ensure that commands are received in real time. If you notice lag or missed commands, revisit your network configuration.
- Maintenance: You should inspect fixtures quarterly for dirt, damage, or signs of wear. Clean lenses to prevent light loss. For smart systems, check for firmware updates, these often improve performance or security.
- Troubleshooting: If you encounter flickering, connectivity issues, or lighting delays, it's usually a power surge, firmware mismatch, or network congestion. Always start troubleshooting from the control side before replacing hardware unnecessarily.
Conclusion
Installing smart LED stadium lighting is one of the most impactful upgrades you can make. It improves energy efficiency, reduces maintenance, and offers next-level control. With secure remote access and a properly designed installation, your venue is ready for anything, from weekly matches to international events.
Need help getting started? Contact Revolve LED for tailored solutions and professional installation support.